Tutorial of PRECISE-LOG WiFi Datalogger
Tutorial of PRECISE-LOG WiFi Datalogger
This video introduces the PRECISE-LOG WIFI data logger, including changing WIFI settings, configuring a new logging session, downloading data and viewing graphs.
Please refer to Quick Start Instructions for basic SiteView installation and communications.
1. Open Configuration Dialog
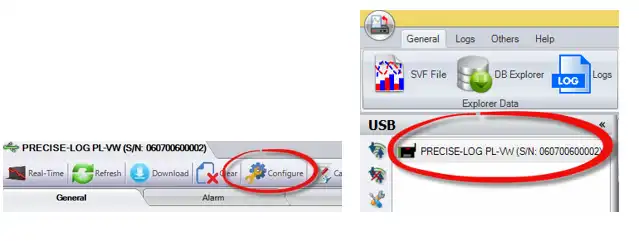
With the PRECISE-LOG data logger plugged in a USB port of the computer, open SiteView and double click the logger icon:
In the logger status window, click “Configure” button:
2. Configure WIFI Settings
In the Configuration Dialog, click “WIFI Settings:
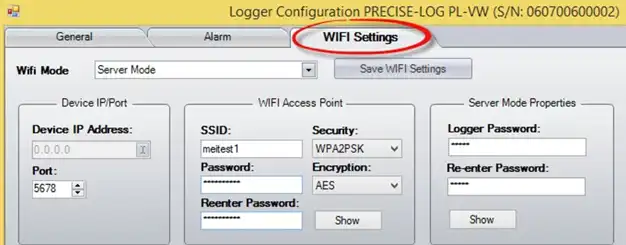
Change the WIFI Mode to “Standard Server Mode”,
Enter your WIFI network’s access point id in SSID section.
Enter the password; choose the security mode and the encryption of your WIFI network.
Keep all other fields default. And click “Save WIFI Settings” button to let the logger connect to the network. (This button only saves WIFI related settings to the logger)
Notice the LED on the logger starts blinking in amber until it accessed the network successfully.
If you want to configure the logger with a new session, you may click “OK” button to clear the data in the logger and force the logger starts logging. Otherwise, click “Cancel” to close the dialog.
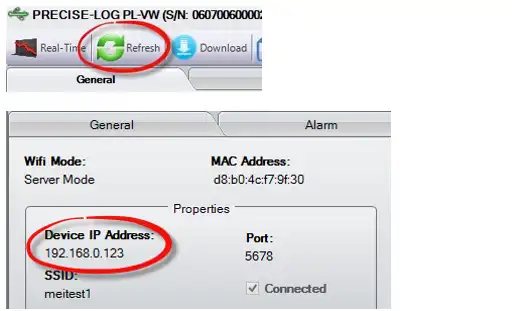
In the status window of the logger click “Refresh” button and then click “Wifi” tab, the below WIFI status indicates if the logger connects to the WIFI network as well as the IP address assigned to the logger. If the IP address field remains “0.0.0.0”, please wait for another 30 seconds and try to “Refresh” again.
3. Access Logger Remotely
Plug the logger to the enclosed USB wall adapter and plug the adapter to mains power, wait unit the logger stopped blinking in amber. (Logger keeps blinking in amber indicating it has not joined the network)
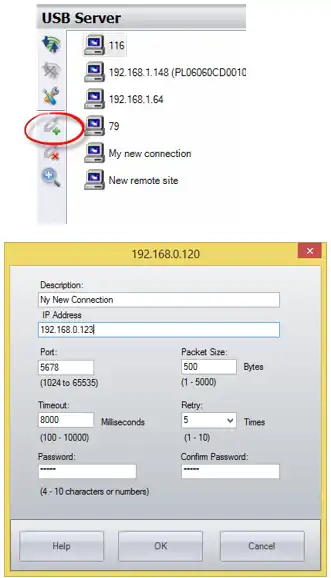
Go back to SiteView and click “USB Server” tab:
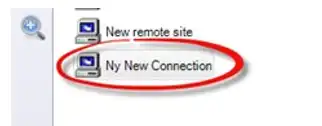
Click “Add New” button. In the pop-up dialog fill in the Description and IP Address fields. The IP should be the one listed in the WIFI tab. Then click OK to add the new connection.
Double click the new added connection to show the logger’s status window.